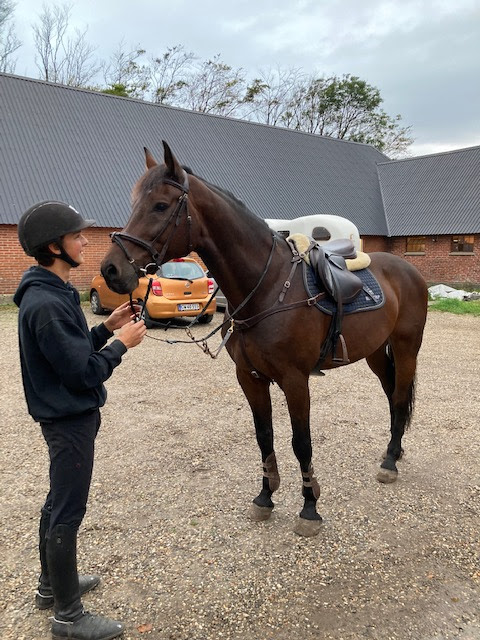
The idea behind this description is something you can use at any type of horse event where you will keep your horse(s) in a competition stable such as a giant tent stable. This will mean that you suddenly haven't got the access to the stuff you normally have at home such as holders for the halters and bridles, holders for the saddle blankets or for the saddle itself.
Generally people bring a saddle cabinet which is sort of a transportable cabinet on wheels with room for a saddle and other stuff. But in addition to this a lot of people like to have the stuff ready at hand and that is where our products excel.
For some time we have offered a saddle holder for two saddles. A lot of people like those because you can have the saddle on the upper peg and the saddle blanket in use on the lower peg. The spare saddle blankets are kept on a saddle blanket holder.
But we have had some inquiries for a saddle holder for one saddle. One of the ideas is that it takes up less space when you need to pack the trailer and your car, and some people keep the saddle blanket under the saddle even when it is stored during an event.
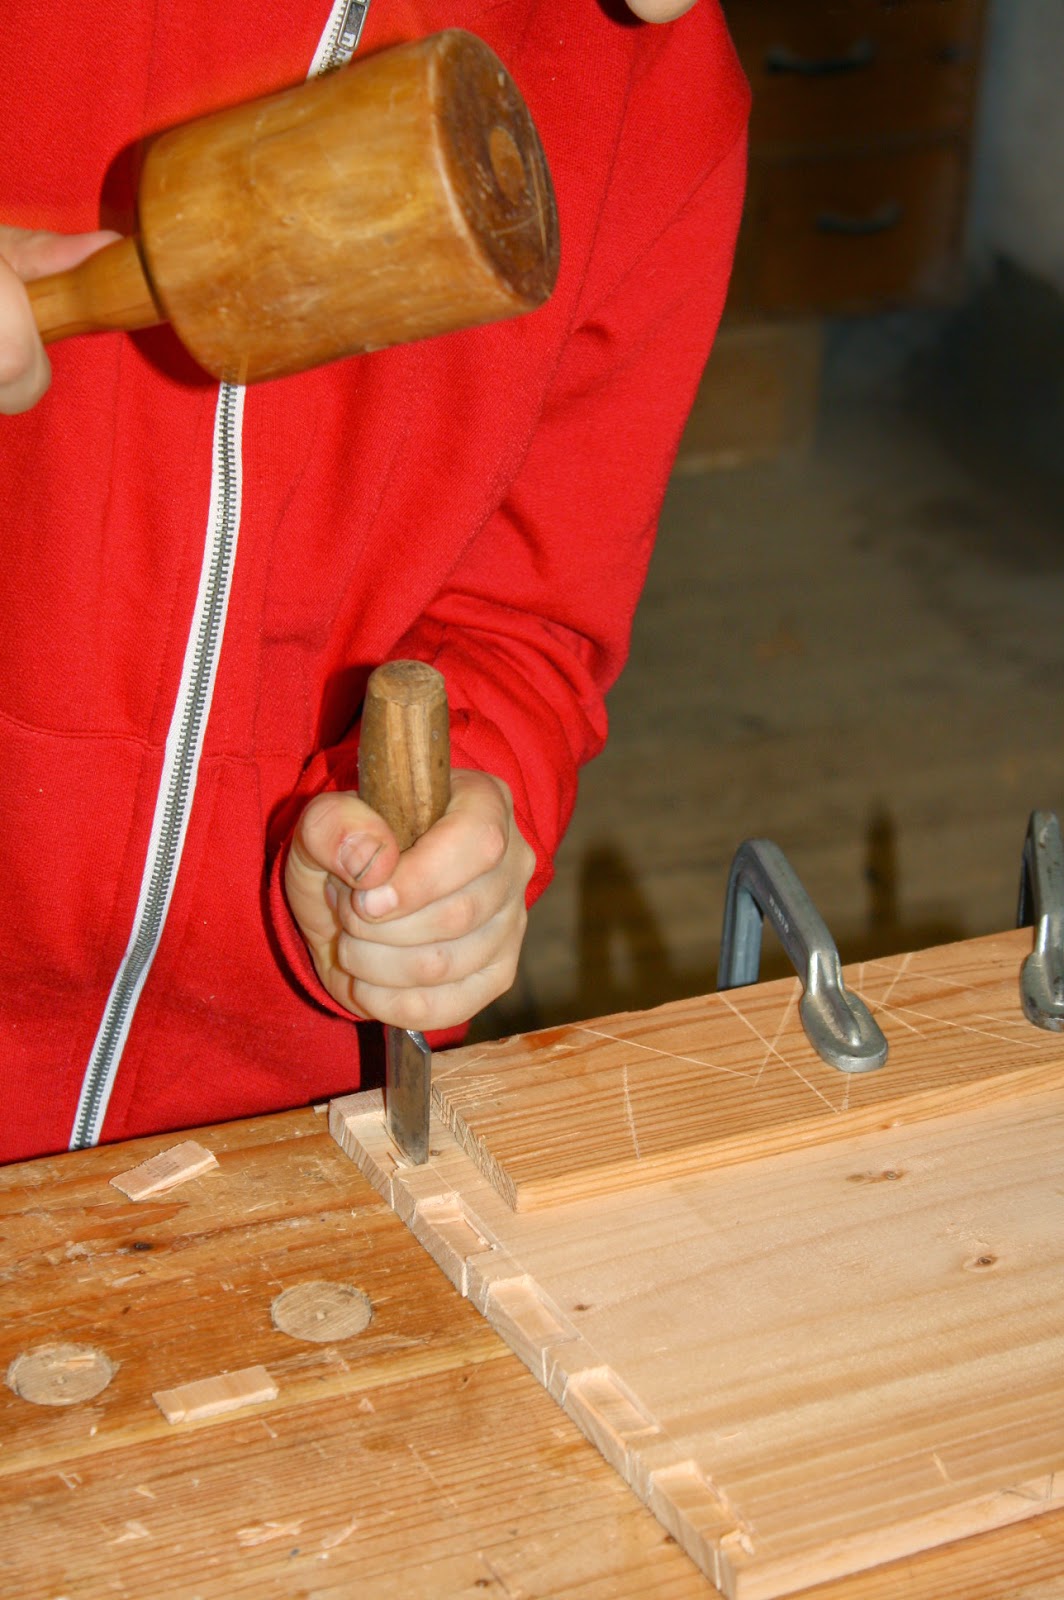
This time at home I made one horse saddle holder. It is 20" high, and on the back of it there are two sheet metal hooks that are each 1.52" wide. These are used to hang the holder over the edge of the box where your horse is kept during the event.
The board is made of first grade pine, the edges are routed to look nice. The wood is then stained using some mahogany stain and finally it receives a double coat of spar varnish. That makes the stuff easy to wipe over with a damp cloth to remove all the dust that inevitably comes from being in a stable.

Saddle holders mounted on a pallet.

Single saddle holder.