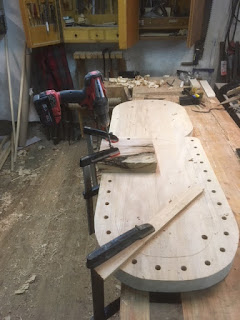
Fabricating the handle was just like what I did for the Simpson saw, but I had planed a little bit more of the blank before starting. something like 1 mm (5/128"), which makes the handle a bit more comfortable in my opinion.
The screws that
Pedder had sent along were of a much stouter type than the ones on the old saw. In addition to that, they also happened to be metric which made it a whole lot easier finding a drill that corresponded to their size.
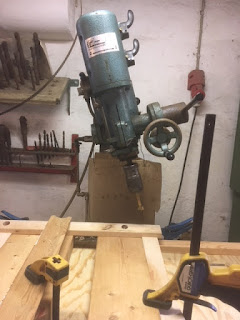
Drilling the holes in the saw plate was kind of hard, since the steel is just a bit on the hard side for a regular drill to go through. A really good drill press helps, but I still had to regrind the drill one time. I started with a small drill, and made it up to the correct size in the next step.
Due to my reopening of the spine, the saw plate slid in place without any hick ups.
The handle was sanded and smoothed with some steel wool, and then I gave it two coats of varnish where I wiped off the excess after each time and followed up with some steel wool to give a matte surface.
I had a feeling that the spine and plate were not completely in line with the center line of the handle. So I checked it and it seems that I was correct.
Over the total length of the saw the plate/spine bends 0.8 mm farther to the right than to the left.
This is over a length of 43 cm, so using a cotangent function I was able to establish that the angle was 0.107 degrees off to the left.
With the risk of being called a crude worker with sloppy results and no regard whatsoever for precision, I have to admit that I can live with that. It wasn't enough to get my fired up for making a new handle.
My guess is that it is some sort of optical illusion due to the grain lines on top of the handle that causes the eye to think that it is all crooked.
I tested the saw for a couple of cuts, and it cuts beautifully. No tendencies to wander off or pull to one side. But I attribute all this more to the sharpening of the saw than to the handle and spine.
Conclusion of those two saw builds/rehabs:
Making a saw handle is not that hard.
Making a nice looking handle on the other hand takes a long time.
Making a really nice almost perfect handle is a lot of work, and takes a lot of time.
I think I ended up in category number two. It is nice but it isn't perfect.
The spine ended up looking fine, but again not perfect, It is not completely symmetrical but that was due to how I bent it.
While it is possible to make a saw completely from scratch, I think that getting a kit for a first time is well worth it. I noticed that
Two Guys In a Garage sells kits. And I think that there might be other ones out the who does it too. (I am not affiliated with TGIAG, but I have looked a lot at their saw handle scans page, and I would like to give them credit for making those public available)
For me the most fun is in shaping the handle. Bending the spine and filing the teeth are just things that need to be done in order to complete the saw. So I am happy that Pedder did the filing job for me.
But just because a project is difficult doesn't mean that you shouldn't attempt to do it if you feel like it. There is also a special feeling in using a saw that you have made yourself, and that has to be taken into account too.
If you count out the metal bending brake and the 25 ton hydraulic press, the rest of the project can be made with very few tools and in very little space. So the way I see it is that getting a kit is a cheap way to avoid a divorce and an eviction due to mounting a large hydraulic press. Just in order to make a bent saw spine.
Elm handle tenon saw.
Elm handle, with character giving knot at the end.
20" tenon saw 9 TPI rip fied
Large tenon saw with brass back.


