Gustav has started training to become a carpenter. I can't remember if I have blogged about it, but I guess not since I haven't blogged much the last year.Anyway, the path he takes is four and a half years, and gives him a certificate as a trained carpenter and a high school diploma at the same time, so that if he wishes to go study later on in life to become e.g. architect, he doesn't need to take any additional classes before enrolling into that education.
The carpenter training is mixed school and apprenticeship throughout those years. During the first apprentice period, each apprentice gets his own set of standard tools from the carpenter. These tools are normally supplied in a rectangular plywood box. If you read the description of the idea/regulation behind the carpenter training, it is stated that during the first apprentice period, the apprentice should be given the possibility to make his own tool chest for the standard tool set, so that he can bring those tools with him for the coming school periods.
Most apprentices just use the standard plywood box. Some will try to make a few divisions in the box and maybe a tool rack of some sort. I had told Gustav that I'd be more than happy to make a small class for him and a friend where they could each build a DTC.
I milled wood for 3 chests, and bought hardware for them too, but for some reason the friend was unable to participate anyway, so we ended up just building two chests. One for me and one for Gustav.
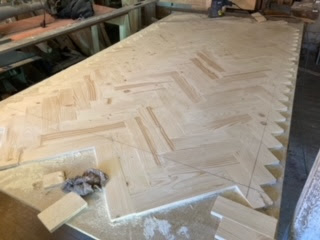
I tried to work a little bit faster than him so he could look at my chest for the next step in the process, but I tried to mainly work on it while Gustav was also in the shop. I showed him the different possibilities such as breadboard ends or battens to keep the panels flat, and how the edges could be treated using a router, a rabbet plane or just a chamfer.
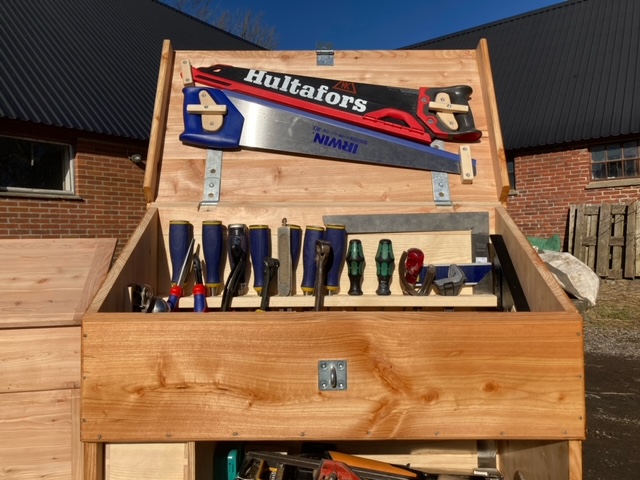
When the chests were complete, Gustav really took off fitting the interior of his chests with tool racks and special holding arrangements for saws and squares etc. I didn't have any special ideas for what tools I wanted to put into my chest, so I just made a chisel rack mainly to show Gustav how one could be made.
At that point whenever Gustav's friends came by for a chat or a cup of coffee, they would as always start out in the shop, and Gustav would proudly show them his DTC with tools and lockable panel and all.
All the friends were awestruck. you could practically see the envy in their eyes. When Gustav demonstrated opening the lid and removed the two sliding battens to open up the front. It might as well have been the "Resolute desk of the movie National treasure".
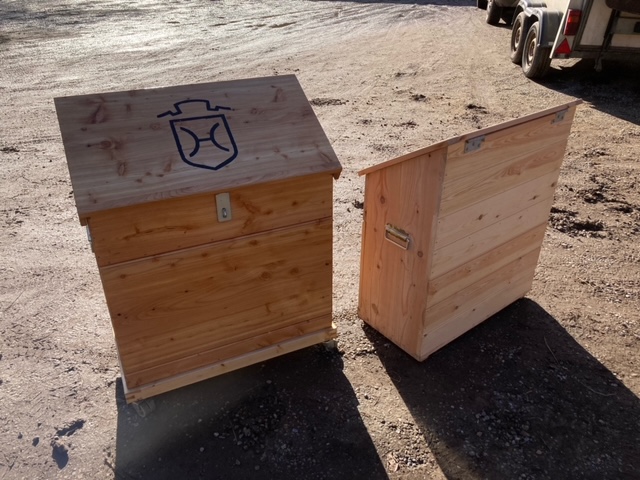
With his chest complete, He felt that it was too nice to be painted and he opted for varnishing instead. He plans to use the Holsteiner breed logo as a mark, to identify which ones are his tools, so he started up painting it on the lid before the varnishing.
This might sound corny, but I think that I am just as proud as Gustav is. Helping your son to build a tool chest is an incredibly fine and meaningful way to spend some time together. And I enjoyed every minute of the build seeing his skills grow through the project.
Gustav's chest
Dovetailed drawers to the left
Batten /dust seal holds the lid flat
Holsteiner horse breed logo
The unfinished chest is mine..