After the glue up, I processed some wood to make small strips for the dust seal.
Today we are still so lucky as to be alongside which makes it a lot easier to do woodworking compared to when the ship is rolling.
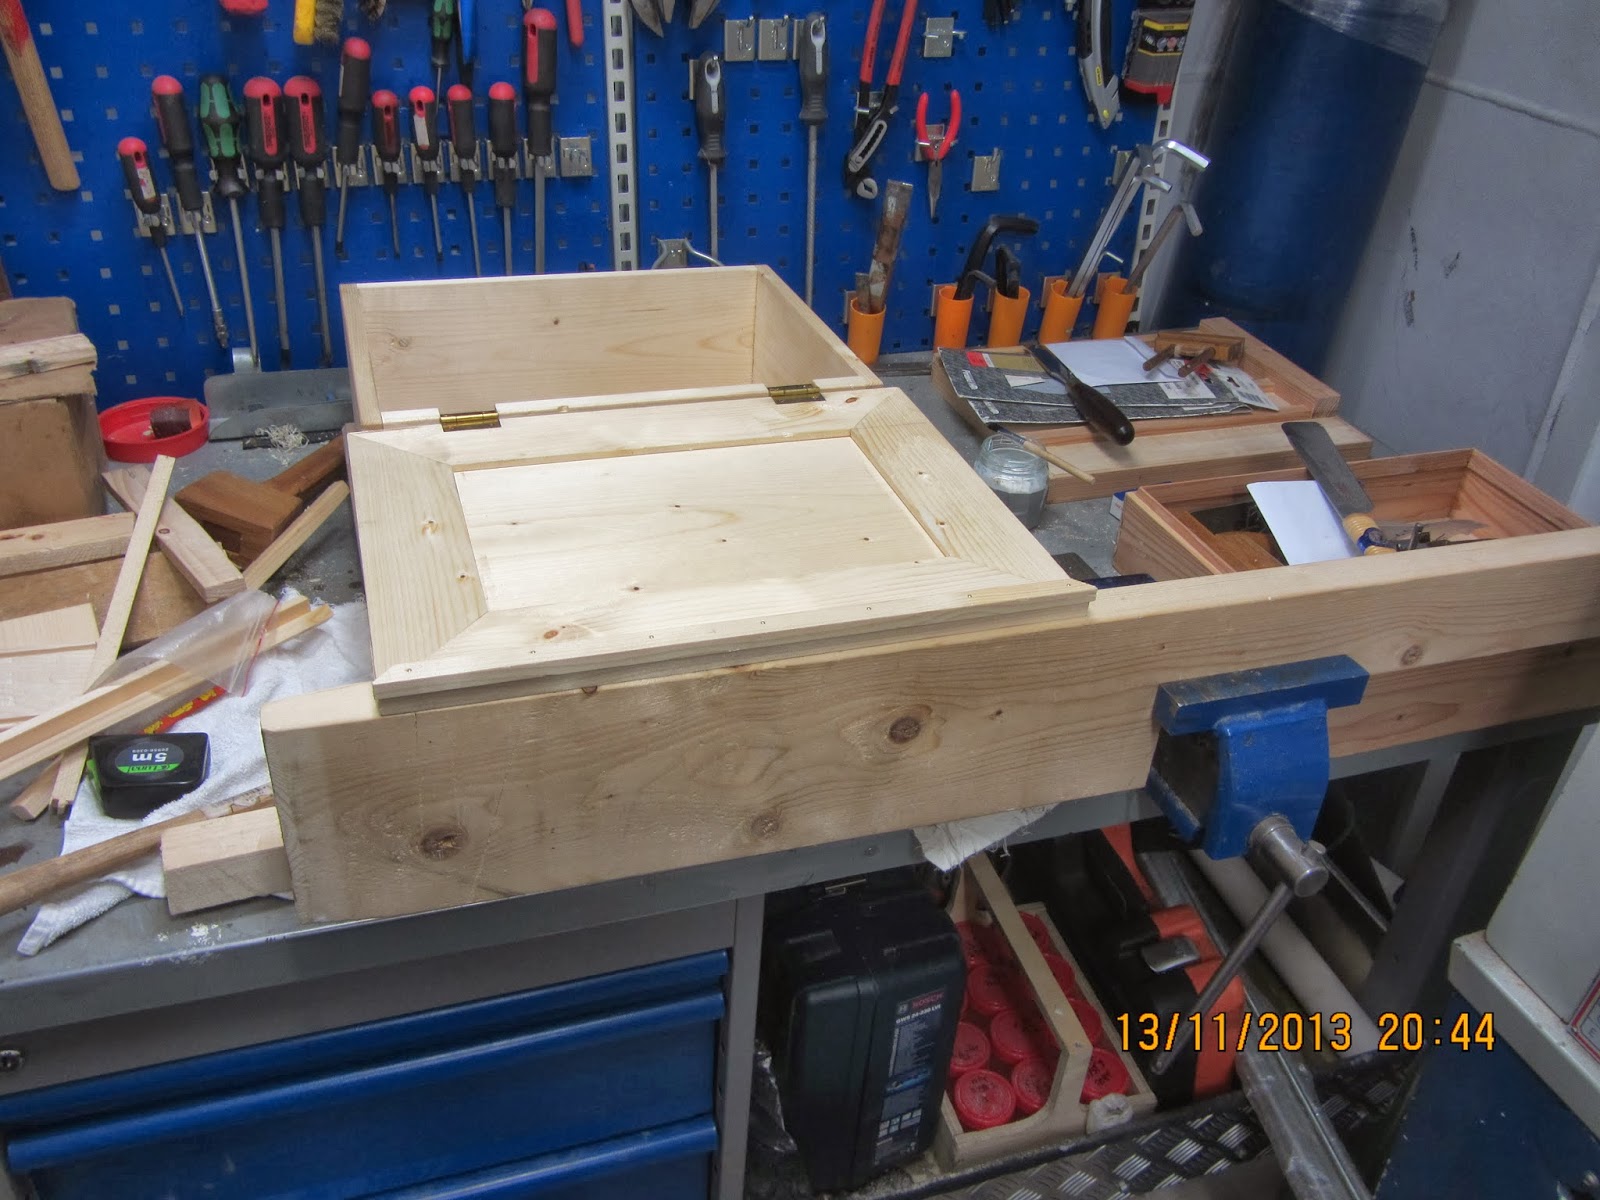
I leveled the underside of the lid, and then I installed the brass hinges that I had brought with me. The heads of the brass screws are a little on the large side, but those were the ones I chose to bring. I was actually a little smart, since I brought both 1/2" and 3/4" screws. The smaller ones were just the right size for attaching the hinges to the lid.
My original plan was to make a traditional dust seal i.e. the front and the two sides. I didn't bring any small brass screws that would be fitting for attaching the dust seal, but I did bring some small brass nails that had the right size.
The strips of wood were mitered in the corners and pilot holes were drilled. I then put nails in all the pilot holes and hammered them almost through, so that a small tap from a hammer would make them enter the lid.
I closed the lid and brought the strip into position so it touched the front side of the chest. I then gently hammered 3 nails in to keep the position. After that I opened the lid and placed it on a supporting plank that was held in the vice. That took the stress of the hinges while I hammered the final nails in.
The same procedure was used for the strips on the side.
All strips were made too wide on purpose. That allowed me to plane them flush with the edge of the lid after the glue had dried. The advantage of this idea is that it doesn't matter if the lid is just a little out of square. You will still get a tight seal and a flush surface.
The dust seal works works just as it should, but I got the idea that I could make an improvement on this type of dust seal. (To make as perfectly as possible).
Dust can enter everywhere there is a small hole or opening, and the back of the lid with the hinges normally don't get a dust seal since it will prevent the lid from opening. That is if you put the dust seal on the outside.
If you put a dust seal on the inside of the lid, you can seal the back as well.
After making some more strips for my improved dust seal, I measured and mounted it. To avoid any unfortunate screw ups, such as a wrong placed dust seal strip causing the lid to not close, I tacked the strips on with only two nails for a start. Then after checking that the lid would still close, I removed the strip and glued and nailed it in place.
A good thing about this extra dust seal is that it can be mounted on an existing chest If anyone should wish to do so. You just have to make sure that it won't collide with e.g. a sliding till in the chest.

The dust seal planed flush.
The supporting system for nailing on an attached lid.

The improved dust seal.
Nice work! I like the rear seal, that's a nice feature that i may look into retrofitting. I can imagine that those could pull double duty as kerfed backsaw storage locations in a tool chest. I saw a nice post and PDF on old school dust sealing strategies http://hackneytools.com/2013/10/an-open-and-shut-case/ that might be relevant here if you haven't seen it.
ReplyDeleteLoved your glue up story as there is always something that doesn't go as planned, but think yours excels.
Thanks for the link. That is some very cool dust seals.
DeleteI guess that you are right about the rear dust seal could make a double duty. I hadn't thought of that. But then again this chest wasn't intended to be a tool chest since it is kind of small.
Thanks
Jonas
Leave it to Jonas to improve upon the ATC while at see, in a closet using tools he brought in his suitcase.
ReplyDeleteI do my best :-)
DeleteNot only is your Wizard's Wand working, it is casting spells beyond its normal magic! Well done!
DeleteThank you.
Delete