My blog has been accepted to such prestigious places as Unpluggedshop.com and norsewoodsmith.com, both places dedicated to hand tool blogs.
I hope I won't get expelled by having a single post where the majority of the work is done at a machine. And it isn't even woodworking.
As Jeremy cleverly remarked, having access to a metal lathe is step 1. But if you have got that, there is no reason why you shouldn't make your own saw nuts. I won't go into details about how to use a lathe, but merely show step by step how I have done it.
Corresponding text is written below each picture.

A finished set of screws and nuts for a children's saw.
Making a saw screw:

Step 1)
I turn the overall dimensions with a roughing tool. This leaves some angled transitions where the diameter changes

Step 2)
I removed the angled transitions with a parting tool.

Step 3)
A square is made using a file.

Step 3)
View from a different angle.

Step 4)
Cutting a thread with a die.

Step 5)
Turning the compound rest to an angle of approximately 5 degrees.

This is the "normal" position of the compound rest.

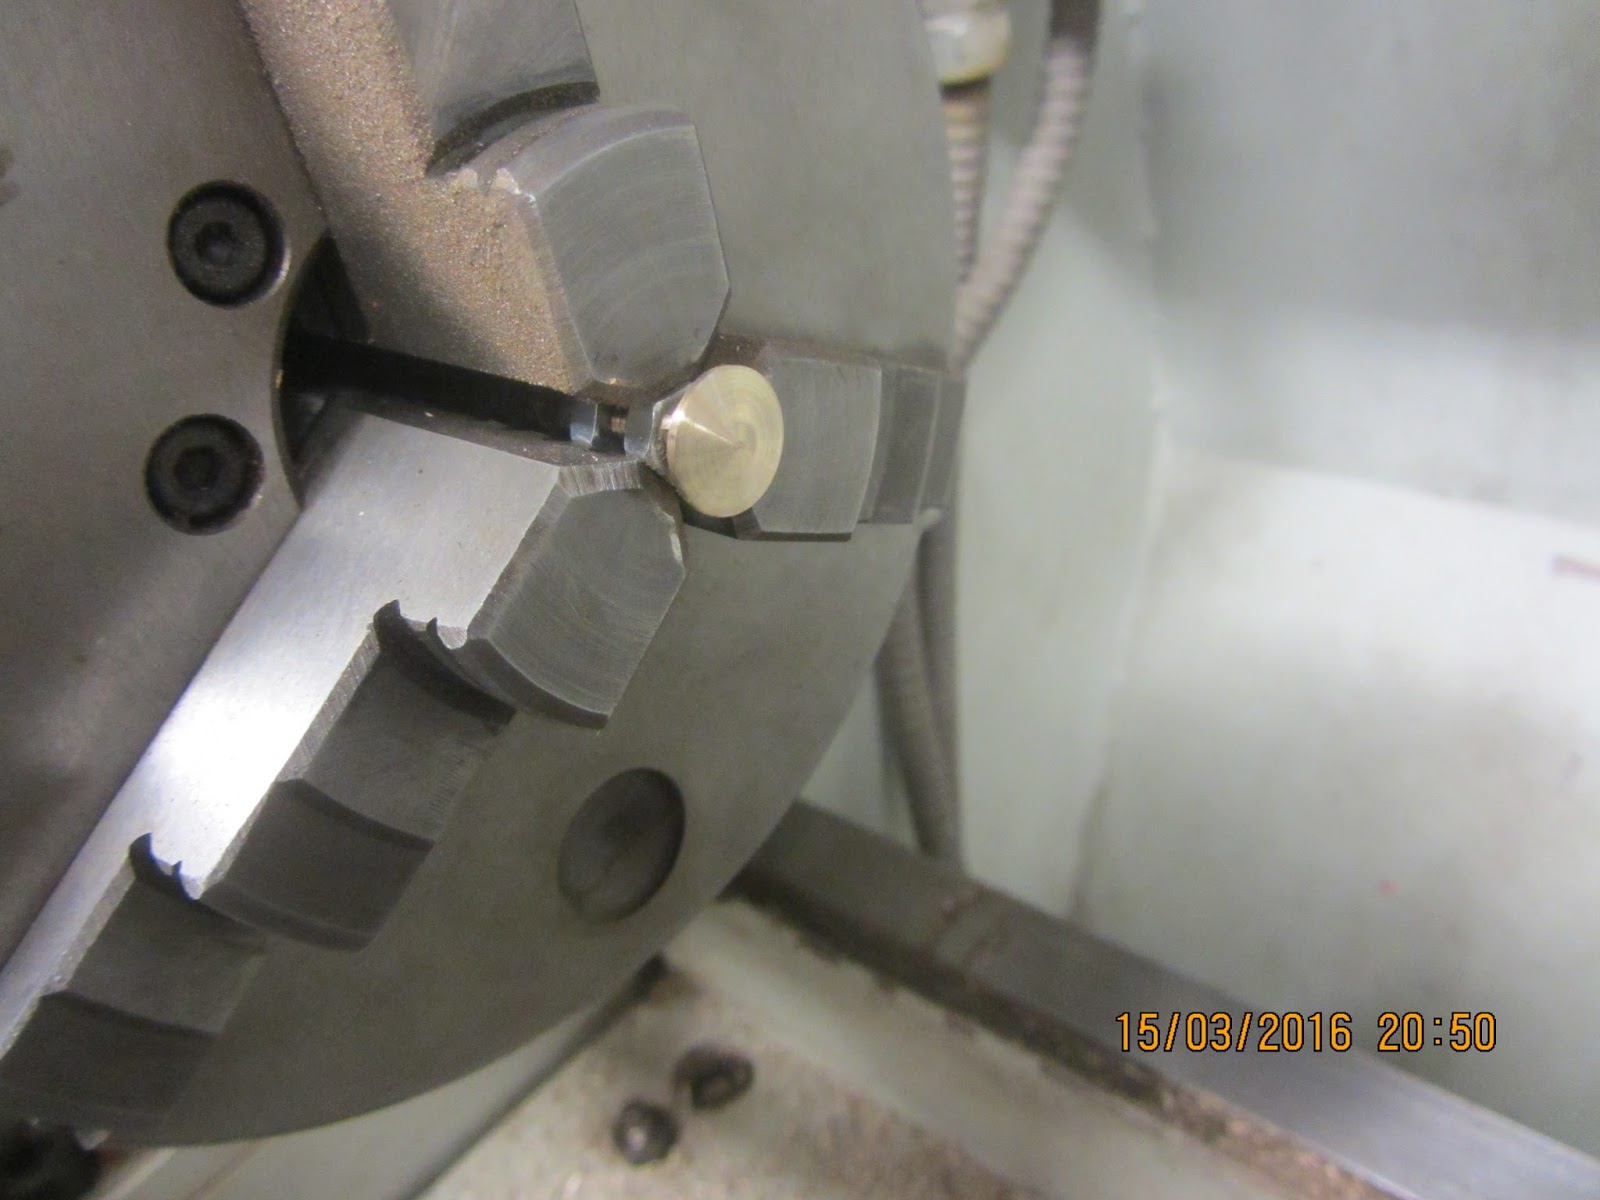
Step 6)
Parting the screw using the feed of the compound rest to form a slightly cone shaped head.
Making a saw nut follows the same principles. But the thread is internal.

Using a parting tool to remove the transition.

Screws and nuts as they look after parting.
The small piece on top is cut off with pliers and filed smooth.
A screw is mounted in the chuck using two regular nuts to protect the thread. The head is sanded using grit 280 emery cloth.
The nuts first receive a slot made by a hack saw. I mount them on a regular screw with the same thread before clamping the regular screw in the vice. After the slot is made, the regular screw is installed in the chuck of the lathe, and the head of the nut is sanded the same way as the screw.
You make it sound way easier than I expected. I wonder if a metal lathe would fit in my shop?
ReplyDeleteA small one would.
DeleteIt really isn't hard to turn, and especially not in something like brass.
The requirements for accuracy aren't too bad either. It gets a lot trickier when you have to turn tolerances for mounting ball bearings etc.
Cheers
Jonas
Sweet
ReplyDeleteA File Rest for your lathe for step #3 http://www.modelenginemaker.com/index.php?topic=1382.0
ReplyDeleteNice to have in your toolbox it can be made from scrap pieces ...just have to find the 'Time'
A kit for the file fest can be found here :
Deletehttp://www.hemingwaykits.com/acatalog/Precision_Filing_Rest.html
Thanks for the nice comments.
DeleteVisiting a model engineering site is dangerous! I have made a few steam engines earlier, and it still itches in my fingers when I visit those sites.
There is definitely a satisfying feeling about making such a nice jig yourself, but given the low price on the kit you have linked to, I would prefer to buy it.
Here's a link for the latest steam engine I built. It was made while on board a ship out of pieces of scrap.
http://mulesaw.blogspot.no/2013/04/display-case-continued-and-making-stuff.html
Brgds Jonas