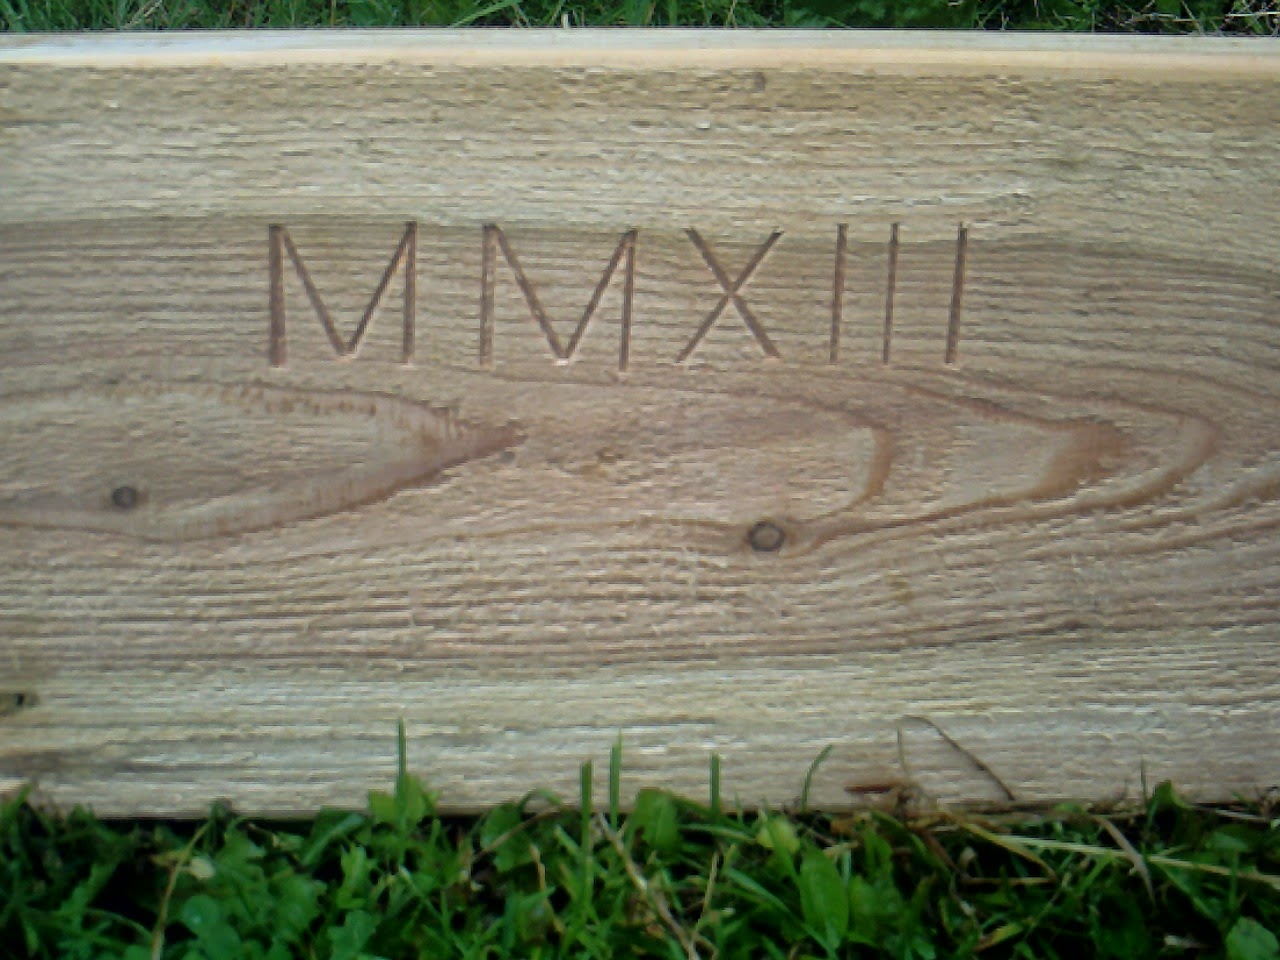
I have never worked with moulding planes before, but I have a few old ones lying about.
The choice fell on a pretty simple beading profile. During the entire process I became painfully aware that I had not paid any attention whatsoever as the the grain direction of the boards with respect to the moulding plane. The moulding plane is not symmetrical, so I couldn't stand the board on an edge and plane with the grain.. The result left quite somewhat to be desired in terms of finish. I reground the blade a couple of times to get an even shaving, and in the end the plane behaved OK. Maybe one day I'll try it out on a piece of wood with the correct grain orientation.
For my comfort I kept on reminding myself that it is for the stable, and it can look a little rustic. I also sanded the beading lightly after finishing, so the result is OK. Actually it is more than OK. I am impressed at the impact a simple moulding had got on a board. Previously I would have just chamfered the edges - and that would only be in case I wanted to make the piece extra nice. But the beading makes it look a lot more finished and refined.
Sadly I was unable to hang the boards up on the wall, since I didn't have any 6" screws left. I'll have to go to town tomorrow and buy some. The reason for the very long screw is that the inner wall of the stable is covered with 3" of insulating bricks that are very soft. So in order for the boards to be secured decently, I have to drill through all that and into the real bricks.
A friend of mine is active in the World of model aircraft. The local club which he is a member of has just rebuilt their club house. They asked me if I could make some rustic looking tables and benches? I have been thinking about a design for those for a long time.
I prefer tables like that to be collapsible. That makes them easier to move and to store in case they need the meeting room for something else.
Benches on the other hand should be as sturdy as possible without being clumsy.
Since the club has offered me to pay for the stuff, I had to figure out what the cost was going to be. So as an experiment I decided to try to work as effectively as I could, and not be overly attentive to hidden details that wouldn't matter regarding strength or function.
I was very surprised to find out that I could knock together a good looking sturdy table in 6 hours and 20 minutes. Off course it helps greatly that The only finish is a quick run over with a random orbit sander and grit 80.
The most difficult thing is that when you can't square up stock due to requests from the "customer", you have to work without a lot of the normal possibilities of measuring that you usually have.
For the benches I turned to the Shaker bench that I have made before. Only this time it too had to be made out of unprocessed stock.
The bench took a lot longer to build than I anticipated. I guess it is due to the fact that there are a lot more joints to be made, and all of them has to be made more or less by hand. Working as fast as I could, the bench took me a little more than 4 hours. I can't remember the exact time, and I am too lazy to go to the workshop to check it out.

A crappy picture of the two peg boards

The table and the first bench

A sliding dovetail is holding the table top.
The legs are inserted into mortises in the stretcher