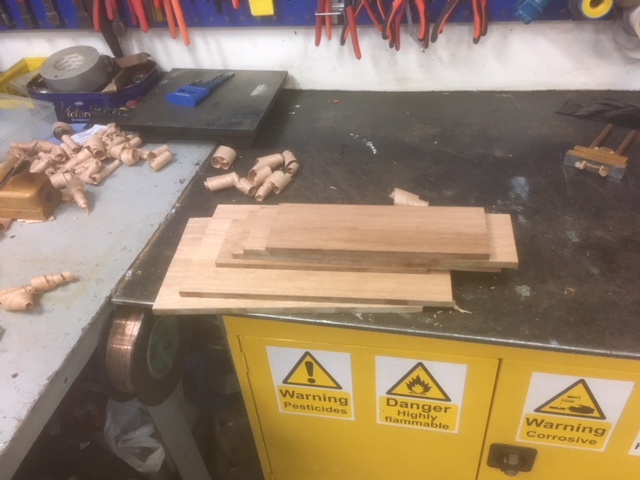
I had to incorporate two grooves, and I also wanted the split pin to be the correct size after splitting and planing.
In the end I managed to make a layout that suited me. I also need to take into account that my narrowest chisel is 1/4".
So I can't make those ultra thin pins even if they would look fine on a project like this.
I made a template for laying out the angles of the dovetails, and I settled on 1:8 sine it is hardwood.
I felt that I had to use this approach, since the stock is thin, so I couldn't just plane away to remove inaccuracies later on as I normally do out here.
Since the pieces were comparatively small, I was able to do it tails first, which I prefer. The actual chopping out was done on a piece of wood held in the vice, and then with the work piece clamped on top of that.
Once all the dovetails were completed, and I had dry assembled the case, I made the rabbets on the lid and bottom, to make them fit in the grooves.
I have never had much success with the small nicker when going across the grain, so I tried instead to first score a line with a hobby knife.
Then after every two passes or so with the plane, I would score another line to keep the rabbet looking good. It took a bit longer than if I had just planed the rabbet, but it looked so much better, so it was definitely worth it.
The rabbet along the grain was a walk in the park. A sharp iron does the trick.
Based on Sylvains comment to the last blog post, where he asked if it was possible to change the fence to the other side, I had decided that I could try to make a new set of rods that would allow me to do just that.
The engineer apprentice on board will soon attend his exam, and he needed a bit more routine in using a lathe. So I made a drawing of some rods that would work, even if we didn't have the correct tap and die for making the same thread as what is originally in the plane.
He made two parts, and I made the remaining two, so I could use the plane tonight.
It is not a 100% elegant solution to use the plane the other way, but it works, and the is the most important thing.
So after making the extra set of rods, I planed the rabbet that would have been against the grain, but now wasn't anymore. It worked brilliantly.
Again I made a dry assembly, this time incorporating the two panels. One of the panels needed to have one side trimmed with a single swipe of a plane, to make it slide easier in the groove.
The edges between the rabbets and the top were rounded to soften the look.
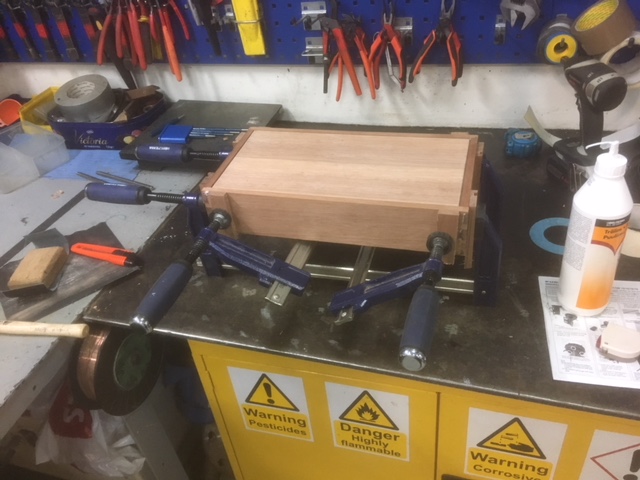
Glued up box.

Shooting the ends.

Workholding for chopping out dovetails.

Record No 50 with fence on the "wrong" side

View from underneath. The wooden fence was needed so I could plane with less than the full width of the iron. The depth stop is a fence (I can't remember for what use) that has been flipped 180 degree

Dry assembly of the box.