The boards for the bottom were ripped out of a plank, and subsequently dressed to thickness using the scrub plane. This time I did take a picture of my work holding for ripping . It is hard work even though the board is just 4.5" wide. It reminds me a lot of making tenons which I am not very good at.
After a dry assembly of the skirt, I measured the distance to get the correct length for the bottom. The bottom will be made out of 3 boards. The inner one slightly narrower than the two boards. My philosophy is that it will be easier if I just have to rip one board to the final width instead of taking a little of 3. That way if anything went wrong with the tongue and groove planing I didn't have to make new boards.
I adjusted my grooving plane and clamped the boards to the side of a plank which was clamped to the work table. So for this setup I have doubled the number of clamps needed.
After planing the two grooves needed for joining the 3 boards, I started planing the tongues that will go all around the bottom to fit into the grooves in the skirt.
A tongue can be seen as a piece of wood surrounded by two grooves. At least that is how I looked upon the task, because then it wasn't so hard to make them only with a grooving plane.
To make sure that any inaccuracies in the thickness of the boards wouldn't influence on the uniformity of the tongues, I planed from the same side all the time.
Before starting I had decided which side of the boards that was going to be visible from inside the chest. So that side was also going to be the reference side for the fence of the plane.
After making the tongue, there is still a little wood left on the outside of the groove. This I plan on removing with a chisel.
Much to my surprise, the planing of the end grain went smoothly. I made a small bevel with a chisel on the far side of the board to prevent ripping of fibers
I didn't quite finish the boards since one of them had a crack that started to split at the first end grain planing. This crack was glued and I hope to finish the bottom boards altogether tomorrow.

The ripping setup.
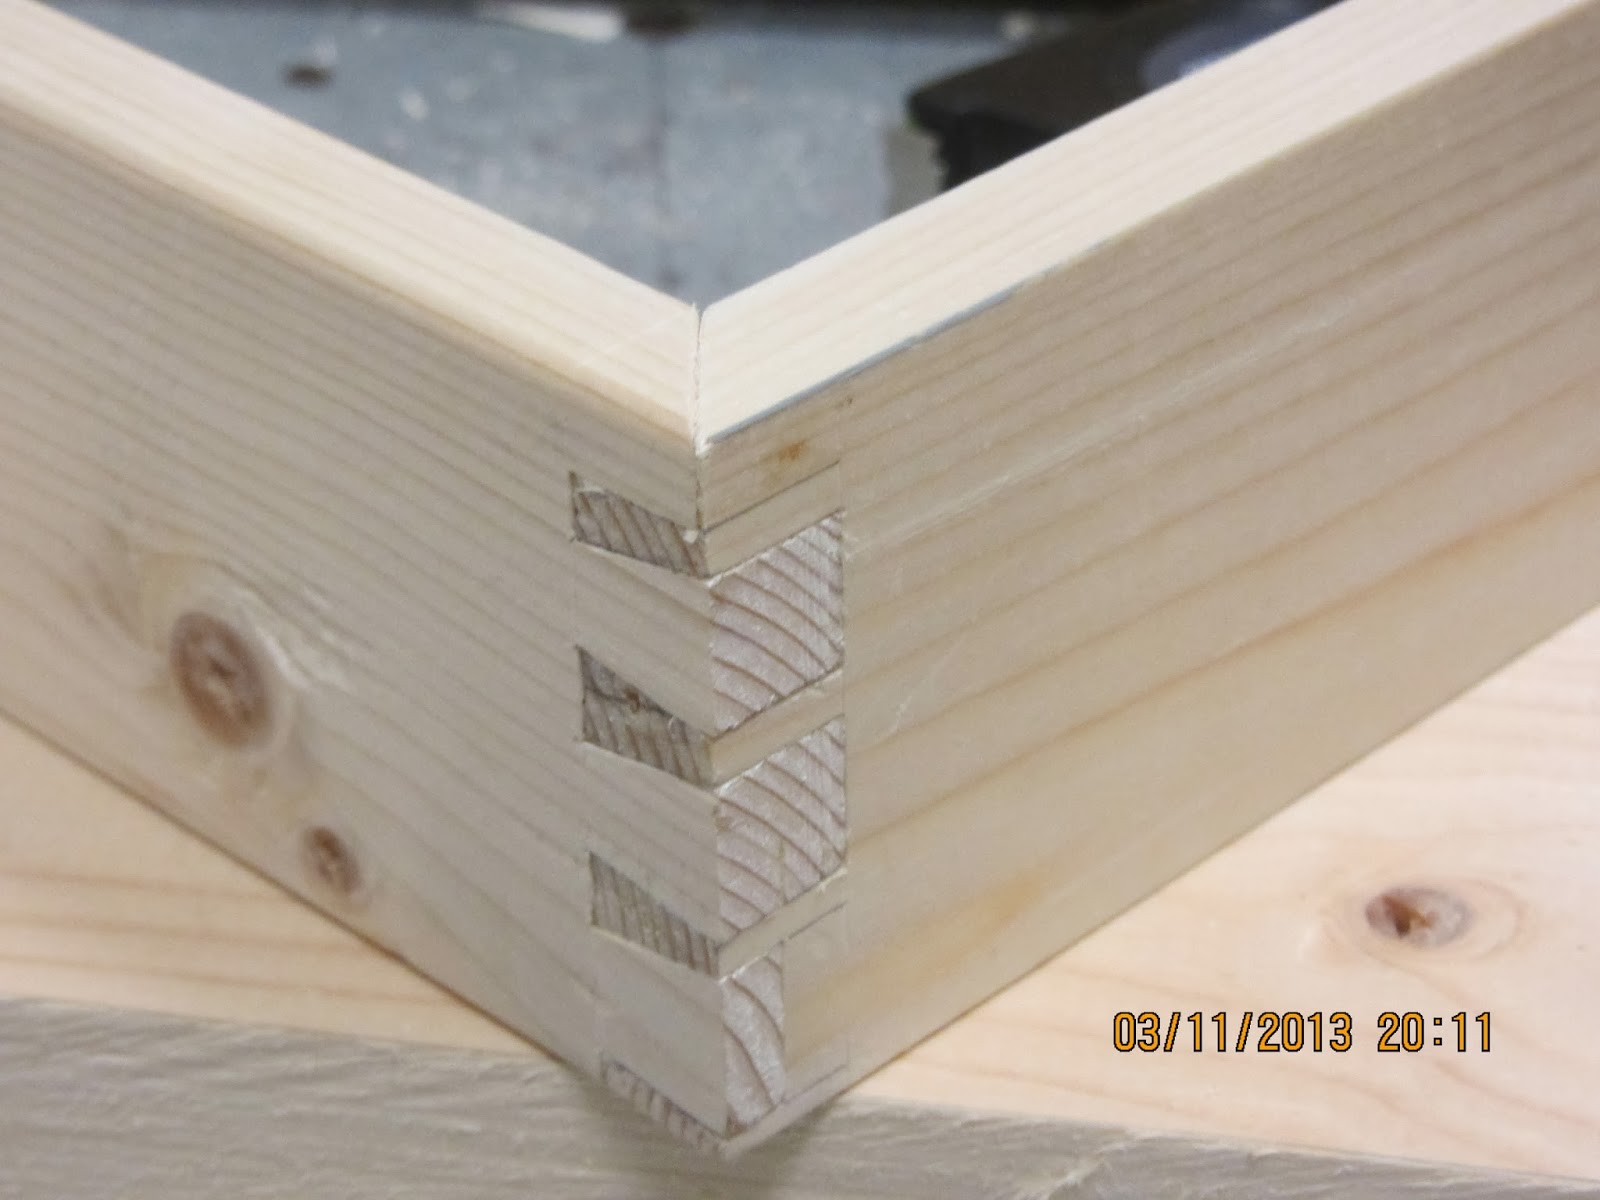
The dovetail layout of the skirt. (not planed yet)

Work holding for making tongues on the ends.

A tongue surrounded by two grooves an a little bit of waste.
Looks like that grooving plane is working OK. Are you glad you brought that instead of the shoulder plane?
ReplyDeleteThe dovetails look really good.
The grooving plane works like a dream :-)
ReplyDeleteI am really glad that I took the advice and brought a plow/grooving plane instead of a rabbet plane. The good thing is that I am going to make more grooves for the lid, so I get to use it some more.
Thanks for the comment on the dovetails. They ended up pretty good after all. It is almost a shame to cover them in paint.
The dovetails turned out nicely. I noticed that you don't use a marking gauge, or at least it seems that way in the picture. Not that it matters either way. The end grain planed impressively. Your wizards wand seems to be working fine once again!
ReplyDeleteI have used a marking gauge, but I didn't press very hard, so I guess that is why the lines are hard to see.
DeleteI agree on the end grain. It actually looked better than the long grain planing I made with the grooving plane. I think that my wand just needed a small break.
Brgds
Jonas